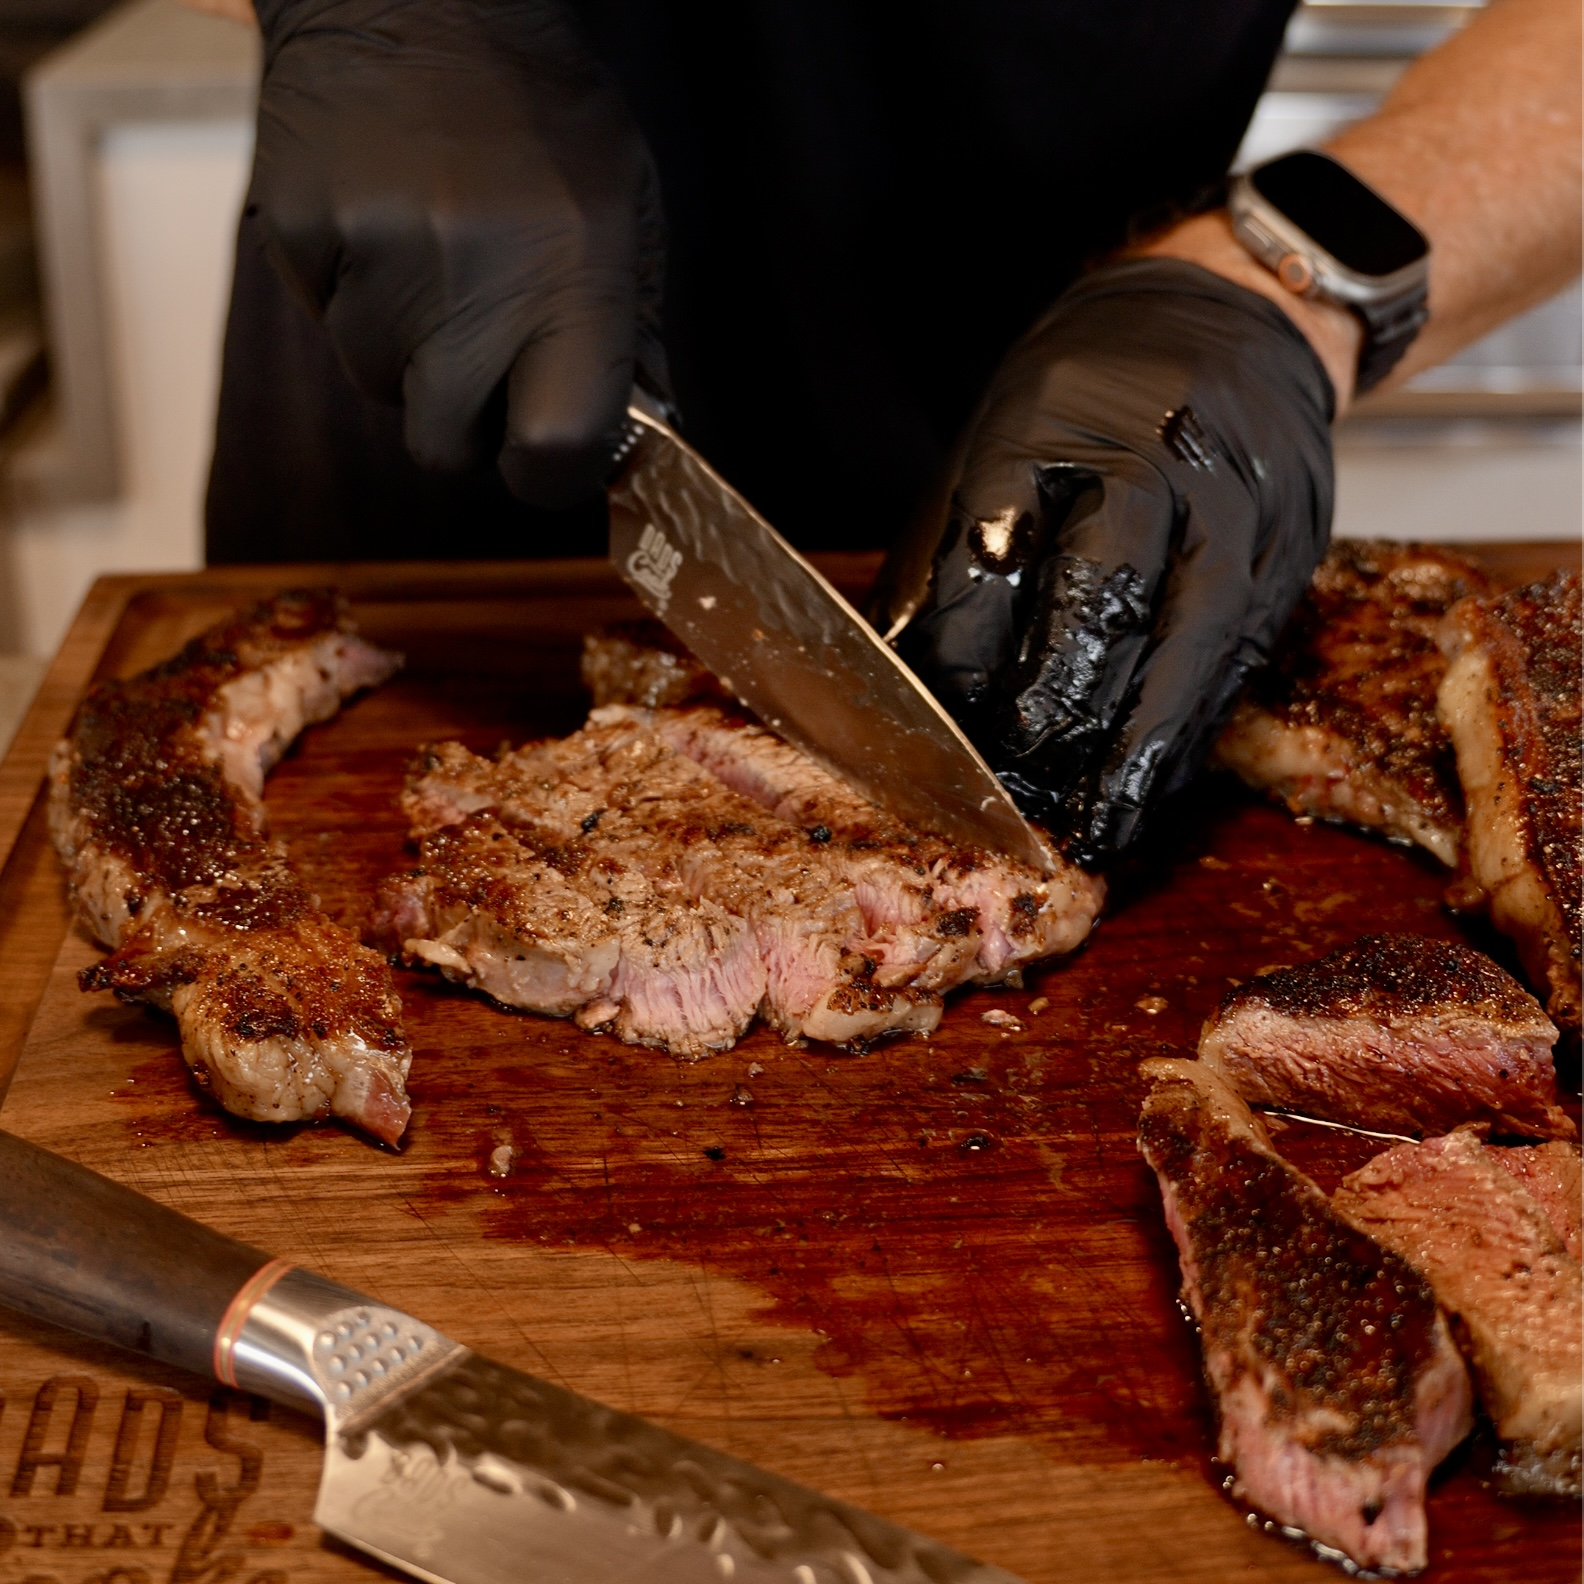
A great cook can nail the sear, hit the target temperature, and still serve a steak that chews like a work boot. The missing move is often the final one. This guide to slicing against grain shows you how to cut meat so every bite is more tender, easier to chew, and worthy of the work you put in at the grill.
It is not a chef-school trick. It is a simple habit that turns a good cookout into the kind of meal where people go back for seconds before they have finished the first plate. Sear. Rest. Slice right. Serve proud.
What slicing against the grain really means
The grain is the direction of the long muscle fibers in a cut of meat. Look closely at a raw flank steak, brisket flat, skirt steak, pork shoulder, or chicken breast and you will see faint lines running through it. Those lines are the grain.
Slicing against the grain means cutting across those fibers, not alongside them. Your knife should cross the lines at roughly a 90-degree angle. That shortens the fibers in each bite, so your teeth have far less work to do.
Cut with the grain and each slice keeps long, intact muscle strands. Even a properly cooked skirt steak can feel tough that way. Cut across it and the same steak becomes noticeably more tender. That is the payoff: no new ingredient, no complicated technique, just better control with your knife.
Why this one cut changes the texture
Meat is made of muscle fibers bundled tightly together. Heat changes those fibers, and some cuts naturally contain more connective tissue than others. Resting helps juices settle back into the meat, but resting alone cannot fix a slice that runs with the muscle fibers.
When you cut across the grain, you shorten those fibers before the food ever reaches the plate. Each bite breaks apart more easily. This matters most with hardworking cuts such as flank, skirt, hanger, tri-tip, brisket, London broil, and pork shoulder. It also helps with lean proteins that can turn firm quickly, including chicken breast and pork tenderloin.
There is a trade-off. Very thin slices can cool down faster and may lose a little visual drama on the platter. Very thick slices look bold, but they can stay chewy if the cut has pronounced grain. For most grilled steaks, aim for slices about one-quarter to one-half inch thick. Go thinner for skirt steak, flank steak, and brisket flat. Go thicker for tender cuts like filet, where grain direction matters less.
How to find the grain before you slice
Do not wait until the meat is fully cooked, rested, and covered in crust to start looking. Spot the grain when the protein is raw, while the lines are easiest to see. Take ten seconds before seasoning to check which way the fibers run. If you need a reminder, make a tiny corner nick in the direction you plan to cut later.
After cooking, look at the surface again. The grain usually appears as parallel lines, ridges, or strands. Rotate the meat until those lines run left to right in front of you. Your slices should then travel top to bottom.
Some cuts change direction. Brisket is the classic example: the flat and point have fibers that run differently. Tri-tip can also be deceptive because its grain shifts across the roast. When the lines change, stop slicing. Rotate the meat and start cutting across the new direction. Treating a whole brisket or tri-tip as one uniform piece is how great barbecue gets accidentally tough at the table.
A quick grain check for common cuts
Flank steak has a strong, easy-to-see grain that usually runs the length of the steak. Slice across its narrow width. Skirt steak has visible fibers too, but it is often long and thin. Cut it into shorter sections first, then slice each section against the grain.
For brisket, separate the flat from the point when appropriate, then assess the grain on each piece. The flat is usually sliced pencil-thick against the grain, while the point is often cut into thicker slices or cubes for burnt ends. With tri-tip, identify the grain before it hits the heat, because the cooked crust can hide the shift in direction.
Chicken breast and pork tenderloin have a softer, less dramatic grain, but the same principle applies. Slice crosswise rather than lengthwise for shorter, more tender bites. Pulled pork is different: once the shoulder is cooked until tender, pulling naturally separates the fibers. Still, chop any larger chunks across the grain before serving.
The right knife makes the job easier
A dull blade tears. A sharp blade slices cleanly through the crust and muscle fibers without squeezing out juice or shredding the meat. If you are dragging, sawing hard, or pressing down with force, pause and sharpen your knife.
For most cooked steaks, roasts, and chicken, a sharp 7.5-inch chef knife gives you control and enough blade length for clean strokes. A carving knife works well for larger roasts if you have one. For trimming raw proteins or separating the flat and point on a brisket, a flexible boning knife earns its place fast.
Use a long, smooth draw stroke instead of hacking straight down. Let the edge do the work. Keep your non-knife hand on top of the meat with curled fingertips, and slice away from your hand. A stable cutting board matters, too. Put a damp kitchen towel under the board if it slides around. A moving board has no place in a serious prep station.
If you want equipment that is built for this kind of hands-on cooking, a full-tang knife with good balance gives you confidence through every trim, carve, and slice. Dads That Cook knives are made for that work: controlled cuts, durable steel, and no excuses when the family is hungry.
Rest first, then slice with purpose
Slicing against the grain will not rescue meat that has not rested. Pulling a steak apart the second it leaves the grill sends its juices running across the board instead of staying in the meat.
As a working rule, rest smaller steaks for five to 10 minutes. Give larger roasts and tri-tip 15 to 20 minutes. Brisket needs far longer - often at least an hour in a warm holding environment after the cook, depending on the method and size. The meat should be hot when served, but it should not be steaming wildly when your knife touches it.
Do not cover a crisp-skinned chicken or deeply crusted steak tightly with foil while it rests. Trapped steam softens the exterior you worked hard to build. A loose tent is enough when needed.
Once rested, slice only what you plan to serve right away. A whole piece of meat holds heat and moisture better than a platter full of pre-sliced pieces. For a backyard crowd, bring the roast out whole, slice a portion against the grain, and refill the platter as needed. It keeps the presentation strong and the food eating right.
Common mistakes that make good meat chew tough
The first mistake is assuming the grain runs in the same direction as the cut itself. It often does not. A long steak does not always need long slices. Look for the fibers, not the shape.
The second is using the crust as your guide. Grill marks and bark are not the grain. The fibers underneath are what matter. Turn the meat, inspect the cut face, and choose your angle based on the muscle lines.
The third is forcing one slicing direction across a cut where the grain changes. Break the meat into sections. This is especially useful for tri-tip and skirt steak. A small adjustment takes seconds and protects the texture of the whole cook.
Finally, do not confuse thin slicing with correct slicing. Thin slices cut with the grain can still be chewy. Thick slices cut against it may still eat beautifully, particularly on a tender medium-rare steak. Direction comes first. Thickness is the finishing move.
Put the first slice to work
Next time you grill flank steak, smoke brisket, or roast a tri-tip, take a moment before the knife comes out. Find the fibers. Turn the meat. Cut across them with a sharp blade and a steady hand. That first clean slice is where all the fire, patience, and pride of the cook finally pays off.